My First Bucilla Felt Stocking Kit: Adding A Name

Posted on April 9, 2021

I am happy to report that I’ve finished the front of my Jolly St. Nick Bucilla felt stocking kit! I’m so happy with the way it turned out.
I did deviate from the instructions slightly. The instructions say to only sew the top edge of each beard layer. I decided to sew the layers of Santa’s beard down at the bottom as well and fill them with a bit of fiber fill. That’s the great thing about these kits . . . you can alter them and make them your own if you’d like.
The next step is to personalize my stocking by adding a name at the top. Included in the instructions for the kit is an alphabet. The instructions say:
“Resize the alphabet on copier if needed. Place tracing paper on enclosed alphabet and trace name, pin paper to indicated area and sew through the paper, carefully tearing paper away.”
Tracing paper is not included in the kit, so I purchased some at a craft store. I put the tracing paper over the provided alphabet and, without resizing the alphabet, I traced the letter R.
Then I placed this tracing paper on top of my stocking front to see how it will look.
I decided that I like the size of the provide alphabet, so I’m not going to resize it on a copier. I also decided I wanted the letters to curve a bit to mimic the edge of Santa’s hat. So, I drew a curved line to follow when I traced the rest of the letters.
I finished tracing the letters off of the alphabet in the instructions, making sure each letter touched the ones around it, so it looked like cursive writing.
Next I pinned the tracing paper right on to the stocking.
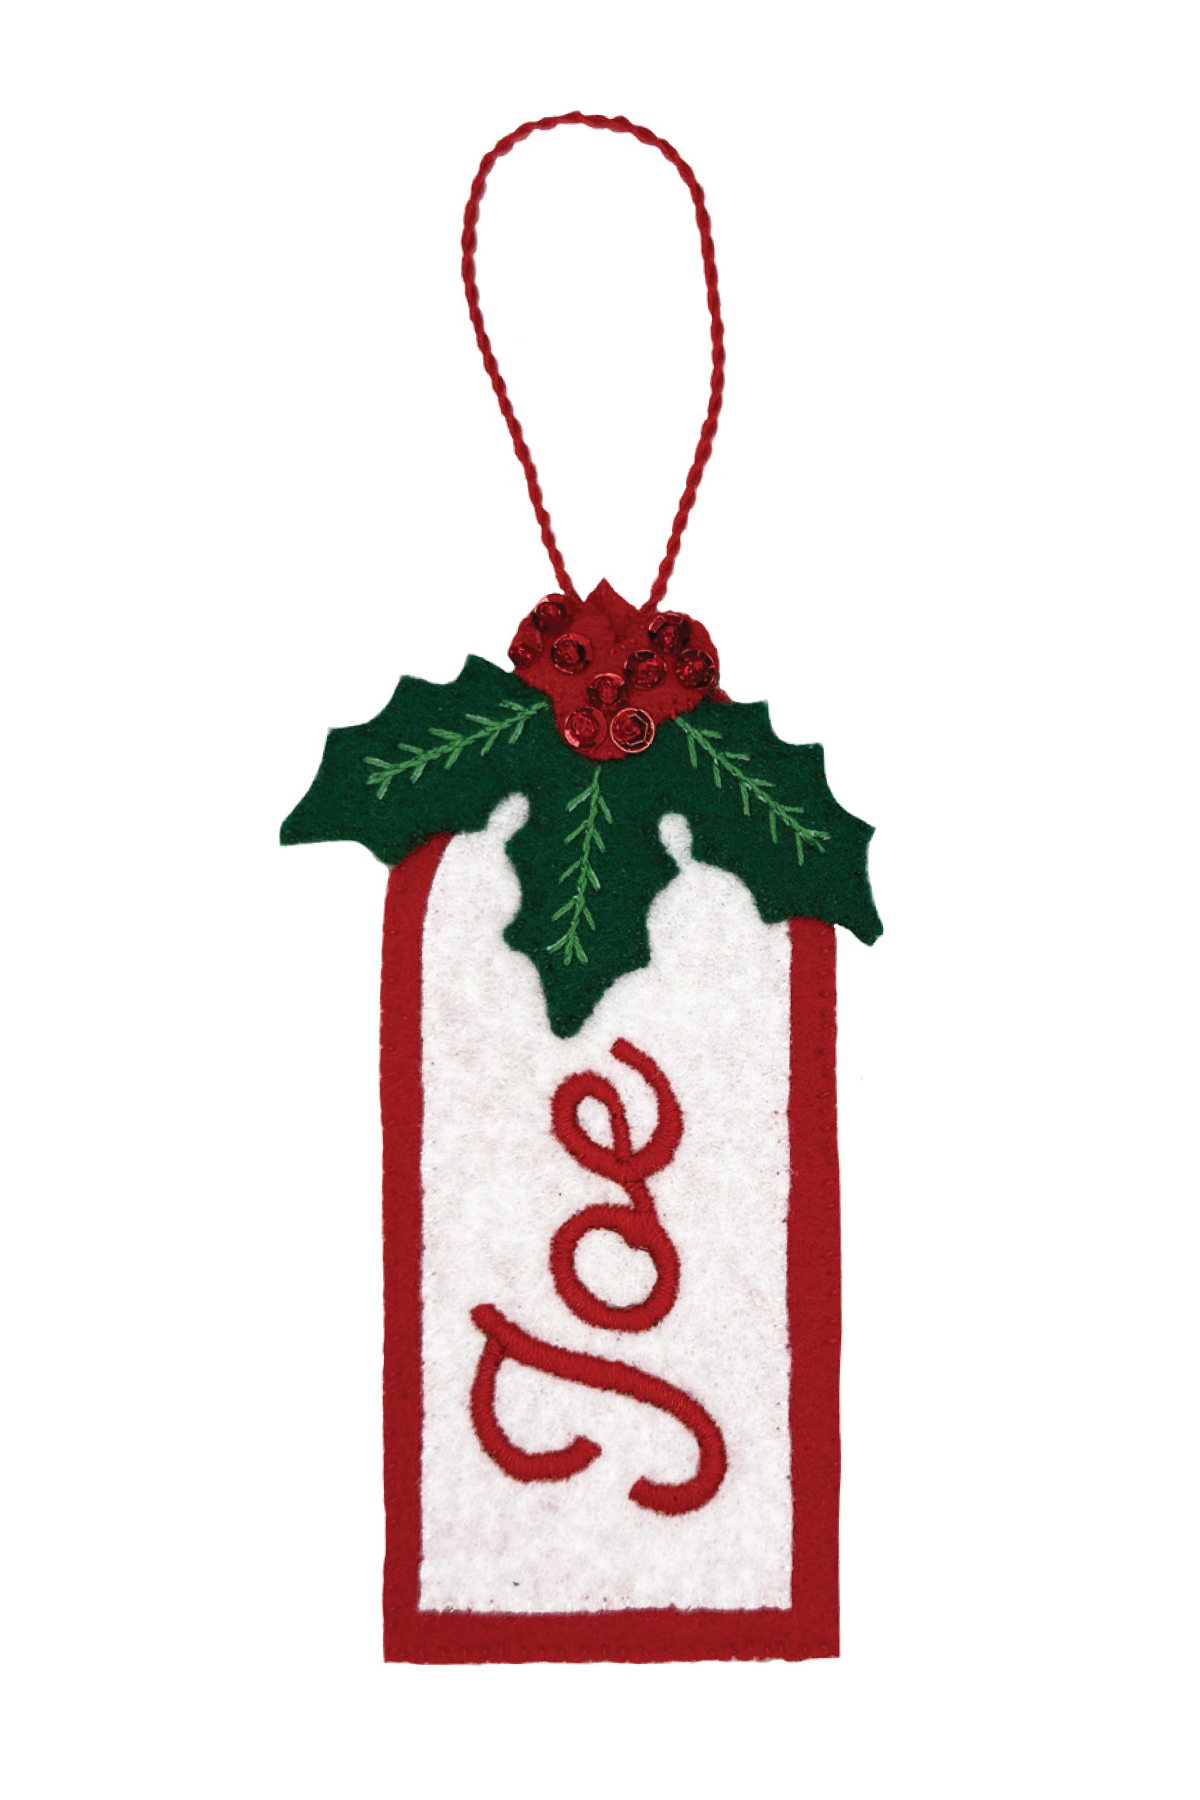
The instructions provided by Bucilla do not say what type of stitch to use to embroider a name. I’ve heard of people using the outline stitch or a stem stitch, and I think this is probably the stitch used to make the name look like the photo on the front of the kits. But I wanted something a bit thicker looking. I opted for the chain stitch using all 6 strands of embroidery floss. This gives a braided appearance. Follow this link to my tutorial on the chain stitch (or just keep scrolling down):
I started stitching right on top of my tracing paper.
And when I was finished, I started to carefully pull away the tracing paper. I used a tweezers to carefully pull at some of the tiny pieces of paper stuck between stitches.
Here's the final product:
I also chose to add some more light green sequins around the name.
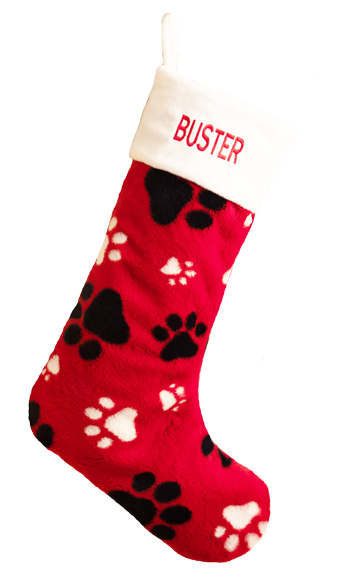
Here is a list of some other ways I have heard our customers use to add names to their Bucilla stocking kits:
- Take the stocking front into an embroidery shop and have it machine embroidered
- Use cut-out felt letters and sew them on
- Use sequins to create the name
- My grandmother used gold cording that she tacked on to create my name
If you know of others, please post a comment on our Facebook page! I’d love to hear how you personalize your Bucilla stocking kit. - Kirsten
P.S. I've received some requests for a tutorial on making cording and tacking it down. Although my Jolly St. Nick kit doesn't require cording, I will tackle this on a future post.
